Showing posts with label DIY. Show all posts

Friday, March 23

Fire 101

Two nights ago I knew I would be spending the evening alone and thought a fire might be nice. There is a certain type of company only a fire can provide and I was really yearning for that type of quiet comfort. While I was building it I thought it would be fun to share the process with you! Not to mention the fact that this was my very first "all mine" fire in our back yard, I had to document it!

1. Find a fire pit! Andrew and I made this one in our back yard with carefully selected stones. Making one was part of the journey for us. 2. Gather your starter wood. Start with very very small kindling first and graduate up in steps. My wood was wet since it has been raining, a good trick for getting your tender together is to use branches off a hemlock tree or mountain laurel, both burn quickly though so beware! 3. Gather your larger pieces of wood and organize them appropriately. While you're gathering your wood be sure to have it close to your fire pit, that way you can access it easily and there is less chance of your fire going out from lack of fuel. 4. This is the tricky part. We have a bag of birch bark that we keep in the house. Why? Because it makes the BEST tender in the world. However, I couldn't find it. My alternative was dryer lint. But of course, when you're out in the woods dryer lint probably won't be available haha! Now, get your lint/bark burning and begin placing your smallest bits of tender on top. 5. Begin to place your larger sticks on top of your flame - be super careful not to smother it, remember your fire needs oxygen. 6. Once you're confident in your flame, add more wood accordingly. As you can see mine is in a teepee style but you can do a "log cabin" also. Both are great ways to build a fire.  

Once you have it going have fun tending it! This little one burned into a hot and cozy fire that heated one pot of coffee and then perked another. I'll share that in another post though ;-) Happy Friday!

xo S

Thursday, March 15

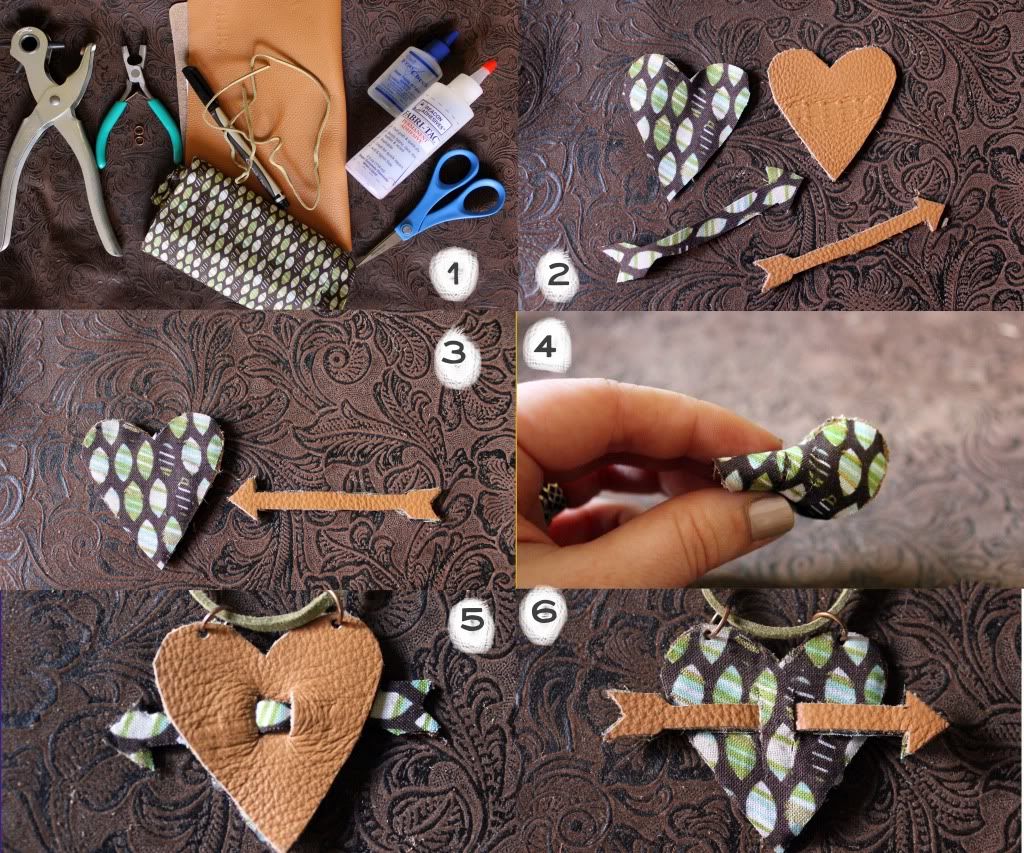
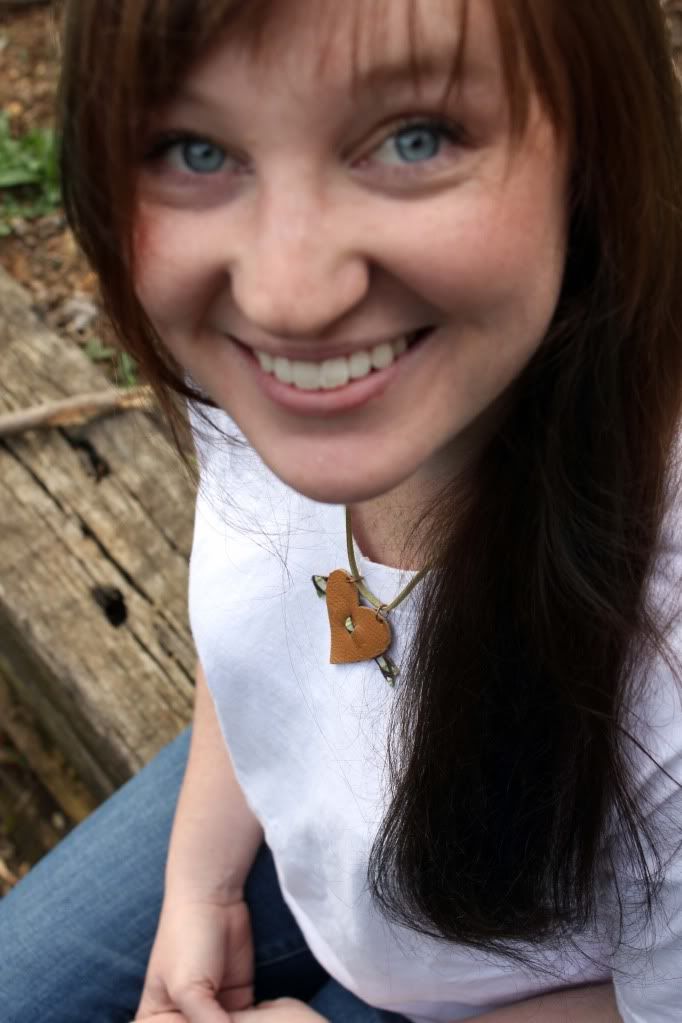
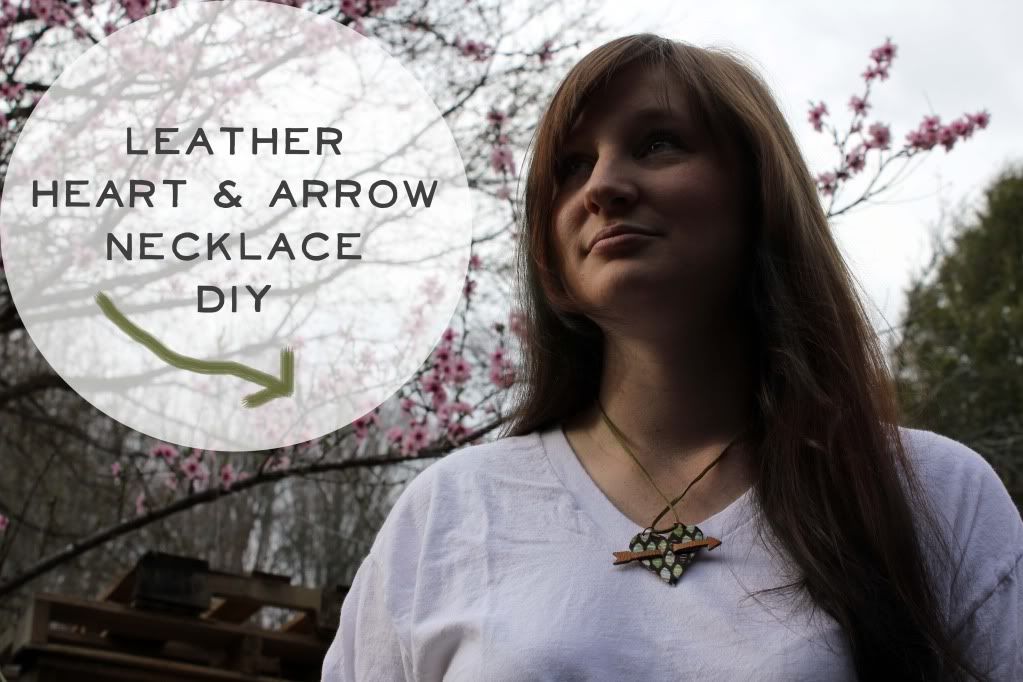
Leather Heart & Arrow DIY

I made one of these little babies as a gift for a friend's birthday. I liked it so much that I had to make one for myself and I thought it would be a fun diy to share with you!

1-Gather your supplies: leather and small print fabric scraps, a length of suede, eye rings, pliers, leather punch, fabric glue, fray check, sharpie, and scissors. 2- Cut out your heart and arrow from the leather and the fabric you picked out. After 2 failed attempts at drawing a heart right onto the leather I made a pattern. 3- Use the fabric glue to adhere the fabric to the leather heart and the arrow. 4- Let the glue dry and measure the width of your arrow and mark it on the back. Fold your heart in half and cut on the marks you made (this will be used to slide your arrow through). 5- Pull your arrow through the slits you cut. Punch two holes at the top of your heart and fix your eye rings. Slide your length of suede through. 6- Mix and match!
I hope you enjoy this little diy! If you make one I'd love to see how it turns out! Happy crafting!
xo S

Thursday, February 9

Valentine's Day Garland DIY

Andrew and I don't buy into Valentine's Day too much but, it does come very close to our falling in love anniversary. He asked me to be his on February 12th, and since it's soooo close to the 14th we just combine the two holidays together! This year I wanted to make something cute to hang on our tree for our falling in love day!

1) Gather your supplies. I used hemp (if you're like me and Daisy found your roll of hemp it looks like this now), clothespins, Mod Podge, thick paper, valentine's inspired fabric, scissors, and a pencil. 2) Sketch and cut out your letters. 3) Pick your fabric for each letter and cut it out. Then use your Mod Podge to glue the fabric to the paper letter. 4) String it up in a cute place!

I can't wait to surprise Andrew with this when he comes home. Happy garland making!
xo Shannon

Friday, January 13

Enjoy Your Weekend!

I'm so looking forward to this weekend! There is a photo shoot to enjoy and some business planning to dive into but I also want to do something really fun. I thought you might too! So, here are a few DIY ideas I'm LOVING...

LA's Tie Cuff - seriously, let's go thrifting and get busy.


A sequin photo booth? I'm dying over this right now!


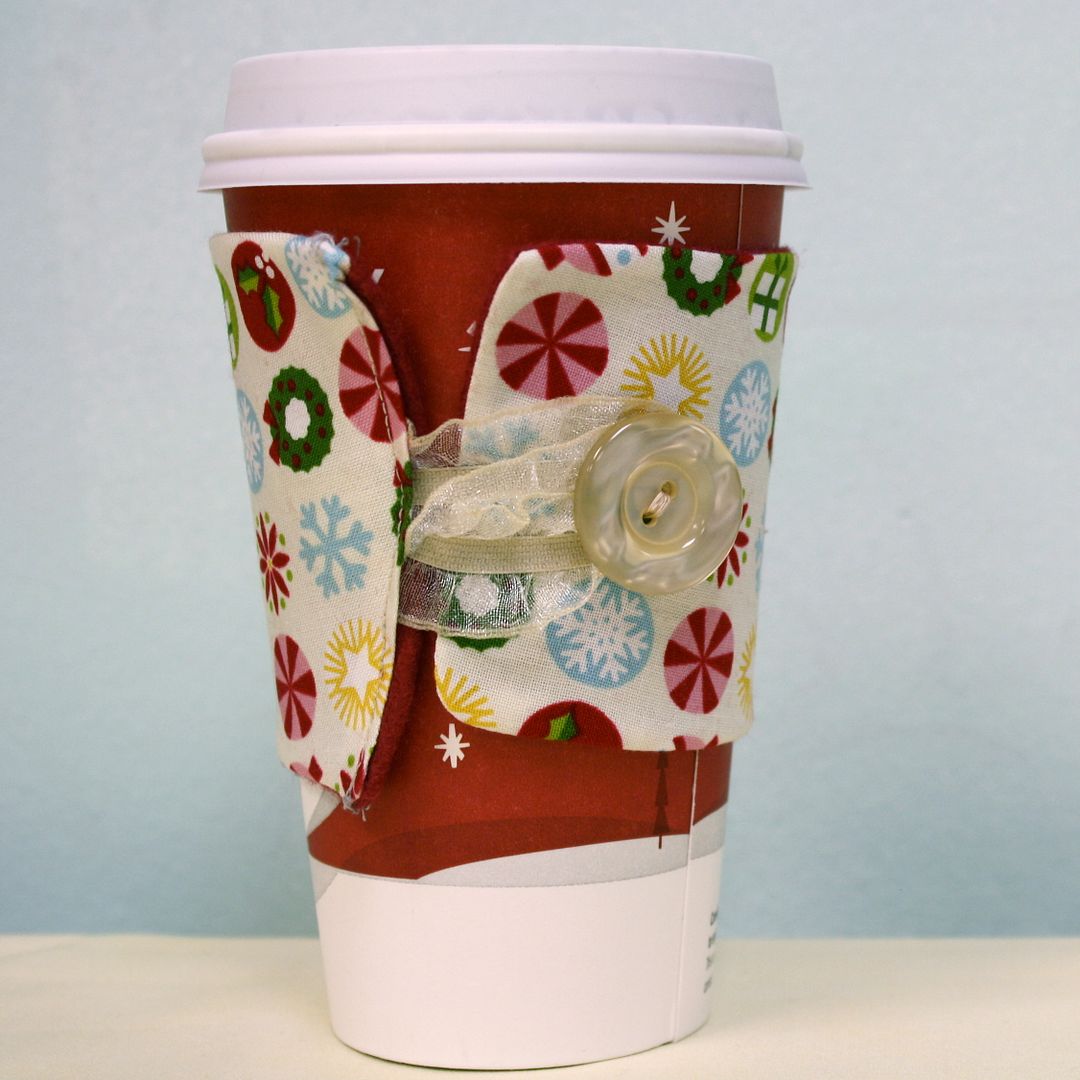
Everyone needs a cute coffee cup cozy!


A super cozy sweatshirt re-haul... with doilies! 


I love this necklace that Kinsey thought up - she is so inspiring!

I wish I had time for each of these little projects this weekend! Let me know if you are able to do any or if you have one to share! 

xo Shannon

Tuesday, January 10

DIY Dreaming

Have you seen these around?


Of course you have. And so have I. And, I WANT TO MAKE ONE! Like whoa. I think it is the little kid, teacher, creative in me that is literally screaming to do this. Have you ever seen anything that captures your imagination like this? I haven't, not in that kind of medium! I think it might be a project for this week.... now just where to hang it?

How was your weekend? Ours was pretty fabulous, I have an outfit post to share soon and a living room tour ;-) But tonight we're having a wedding client over for cookies, coffee and conversation. Might be one of my favorite parts of my jawrb!

xo Shannon

Thursday, December 15

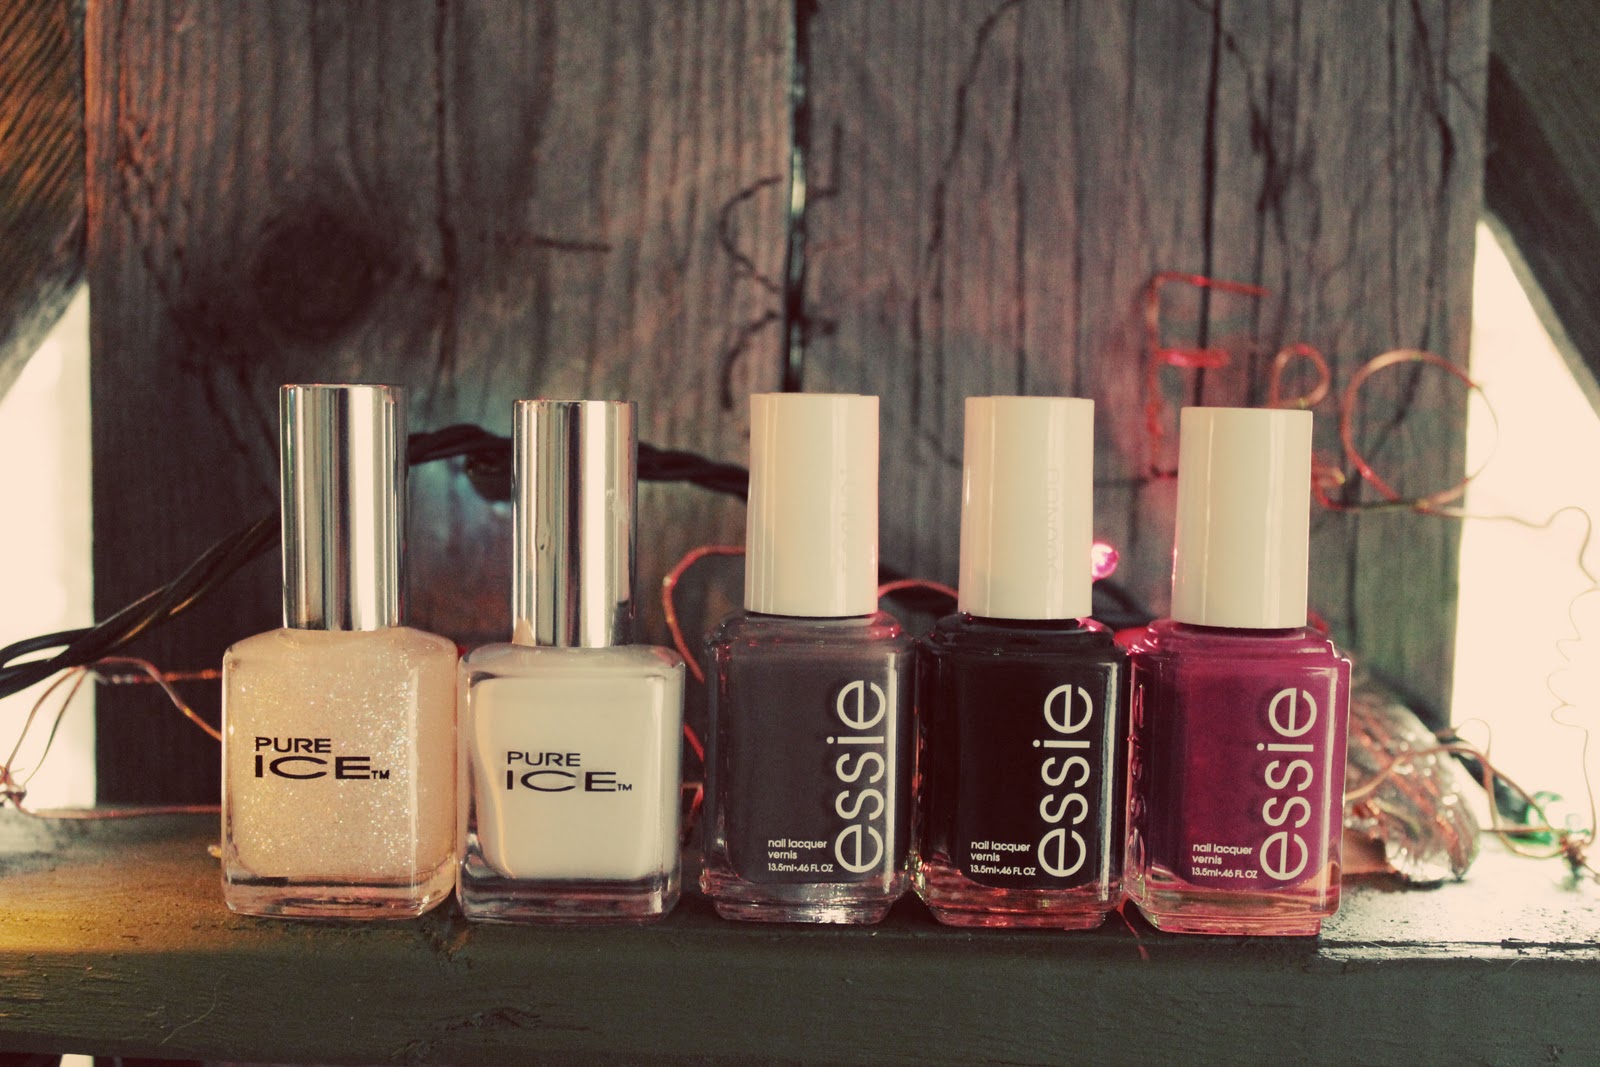
Rudolf Nail DIY


One of my holiday traditions is to watch Rudolph the Red Nosed Reindeer. It has Yukon Cornelius in it and he is my favorite animated Christmas character ever.

Want to see my favorite part of the movie?


I was able to indulge the other night in Rudolph cuteness and Yukon hilarity and that led me to this DIY. Sometimes you just need Rudolph nails.

Supplies:
Polish
Bobby Pin


 I painted all of my nails white and added some glitter so they would look like snow. For your reindeer head make a semi-circle with brown polish.

 With a darker brown add some antlers and some eyes, I chose closed eyes because I think it's more whimsy.
 Add a nose, mine is pink since I'm a girl :-) I also put some glitter polish on the nose so it sparkles too!

 If you have a more steady hand than I, I promise it won't look like a 3rd grader attacked your finger ;-)
Now you can sport your Rudolph look! I think Yukon is next for me, I'm just working out how exactly to do it! Eeek!

xo Shannon & Rudolph

Monday, October 31

The Promised DIY


A couple of weeks ago Andrew and I were walking around in Walmart. You know, that kind of walking. Ambling around with nothing in particular in mind to get, just out in the world... of Walmart. That's when we saw it. The vest. The perfect, only size they had was medium, vest. It was $4.00. Can you imagine my squeal of delight? Maybe I'll video it and share it one day.

So we get the vest and bring it home. Daisy doesn't seem as excited as we are but she handles it with grace. Especially when we find out that it doesn't fit. Yep. The perfect, only size they had was medium and it's only $4.00, vest doesn't fit. Rather than letting out a moan of anguish to match my squeal of delight I look at it puzzled as it's streched helplessly across her back and hanging down the left side of her body, cause there is NO way we're getting her other leg through that hole, Shannon. Forget it.

I decide, I'm going to fix it. I'm going to fix this size medium $4 vest. And it will. be. glorious.

Here's how I did it.


She's laying beside me sleeping with it on. I love her in it, she stops shivering when it's chilly and she's pretty adorable too. I hope this is helpful for you! If you have any questions feel free to ask and I'll answer the best I can.

Happy Halloween!
xo Shannon

Tuesday, September 13

Tutorial | Pressed Coffee

Good Morning my dears! It's chilly here and a little bit foggy. It's a perfect Fall morning! And what do you need on a perfect Fall morning? Besides a cozy hoodie, wool socks, and a sleeping puppy...... coffee!


Andrew and I typically use Jr. to make coffee. He's our percolator. He was actually Dad's percolator but I won Jr. from Dad. We were going to meet him in the woods and he said if I could find him I could have Jr.... I found him! Now Jr. lives on our stove for the most part. He's pretty charred up from past campfires and other adventures but we think it gives him character!


So, now you know what we usually use. Now on to what we've discovered. I've always like pressed coffee but it always seemed like more work than it was worth.

And then we ran out of coffee.

We had a ziplock bag of a Costa Rica blend that A's co-worker, George - who's wife has direct connections with coffee farmers in Costa Rica, gave him and it was just enough for a coffee press! The timing was perfect. I'm going to share with you what I learned about how to make pressed coffee!


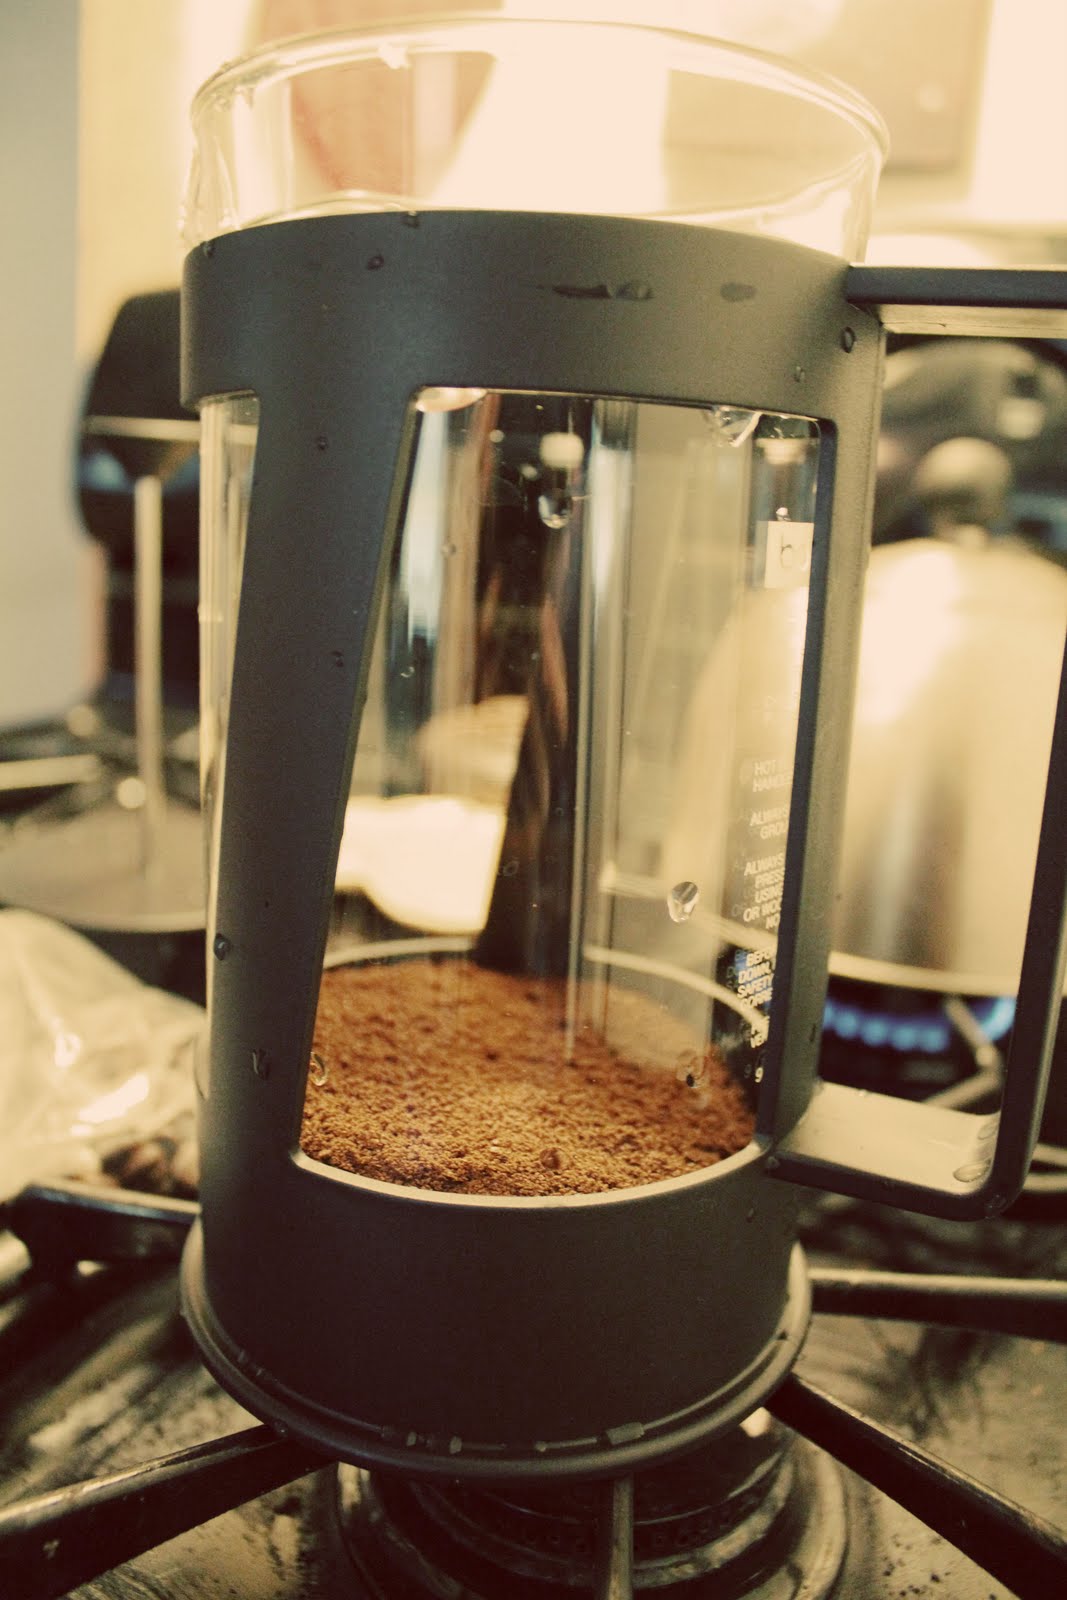
Put whole bean coffee in your coffee grinder and set it to the drip setting. If you don't have a drip setting put it on a coarse grind.


Measure out your coffee. Our coffee press takes 10 scoops. Each one is different so read your directions or look it up online. We also like ours to be a little more bold so we add a little more to grow on!


Once you have your coffee measured and in your press add some hot water! We used our tea kettle because we like the whistle it makes when the water is hot.  It's the little things in life.


Here is the way important part! Put your lid on and wait for 4 or 5 minutes (depending on how strong you want your cup to be) to let it steep. Set a timer and go kiss your husband for a little while.


Now then, press down the filter. Use only the weight of your hand and push it down slowly. All of the grounds will be under the filter on the bottom of the press, leaving only velvety goodness!


Pick out your favorite coffee mugs - ours were a gift from our friend Chris, he made them! - pour it out and fix it the way you like your coffee!


Drink and enjoy!

Happy Pressing!
xo Shannon

Wednesday, August 24

A Little DIY

Yeah, that title is a teaser. I've written about 30 Days of Lists before and shared a few of my pages with you friends. I'm sponsoring it this time around and registration is open and it begins on September 1! If you're interested in some fun list making and some new friends head over and check it out. And if you go today you'll see a fun DIY from me! Want a peek?

See you there! I'll be back soon with a Wordless Wednesday post. I have some super amazing photos to show you!
xo Shannon

Sunday, April 17

Simple Monogram DIY


I've always loved going to my married friend's houses and seeing the first letter of their last name randomly throughout their home. Even when I was single and thought marriage was silly, I loved that idea. Andrew and I have been married for almost a year and still haven't gotten an H for our house. Much less a few to be displayed around, all cute and lovey. So, today I found his old topo map and an old atlas, oddly enough on top of our dryer. I hung up his topo and thought the atlas would be good for gift wrapping, etc. Then I decided to thumb through and found Colorado and immediately thought, okay here is our first H.

You will need:
a marker or colored pencil
a ruler
a map (or other choice of paper)
scissors
a way to hang your letter
cardboard or core board for backing (optional)

gather supplies

use your ruler to draw and measure your template

thankful we have an H because it was pretty simple

cut out letter

hang on a clip board 


and enjoy!
Taaadaaa! Seriously, how easy is that? If you have a letter that isn't so geometric freehand it! Sometimes it's a little scary to do something freehanded but it will be fun and beautiful! I hope you enjoyed this! If you make your own please leave a link in the comments below, I'd love to see them!

Don't forget so sign up for Pay It Forward, I still have 3 spots left! 

xo S